| Level 7 *Summons |
Level 8 *Summons |
|
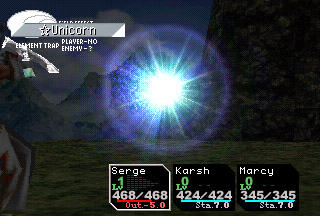
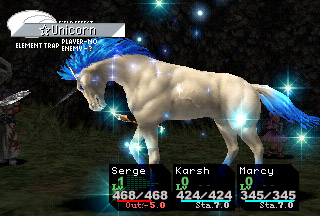
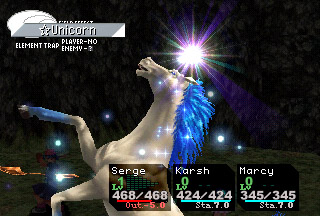
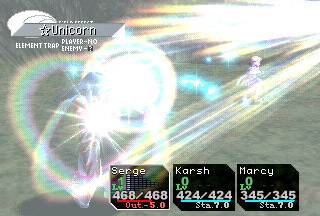
*Unicorn |
Trapped from: Dodo
Location: Fossil Valley (Home World), on the ledge where the Big Egg was
Description: Holy horse's prayer raises defense and magic defense
Special notes: After building up the one character's grid (do not cast Trap*Unicorn yet!), continue attacking until the Dodo starts
to sag (do it for both if there are two). If you don't do this, not only will it/they never cast *Unicorn (cause it's a defense-type *Summon),
but they'll just keep setting traps themselves. Once all the Dodos on screen are sagging, cast Trap*Unicorn, and
wait for the field effect to turn all white. One of the Dodos should summon *Unicorn soon afterwards.
  |
|
|
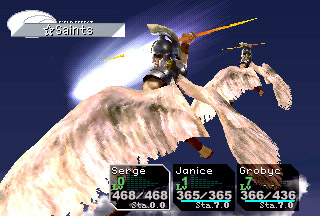
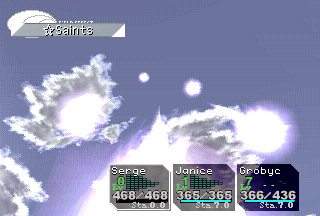
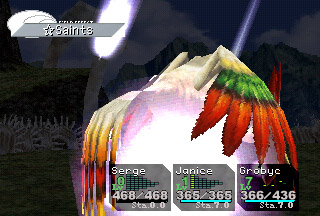
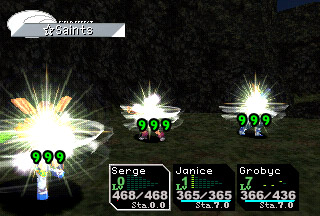
*Saints |
Received from: Sky Dragon (after defeating him)
Location: Sky Dragon Isle (Another World)
Description: Army of angels attacks foes and heals party
  |
|
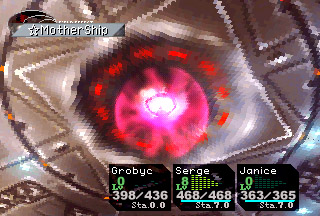
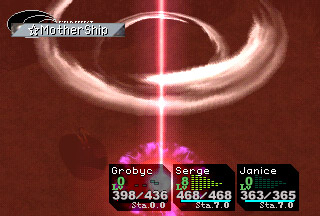
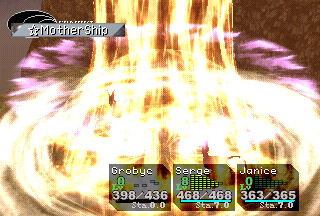
| *MotherShip |
Trapped from: Shadow Cat
Location: Fossil Valley (Another World)
Description: Contacts a spaceship to blast foes to pieces
Special notes: If they go several rounds (like, 5+) without summoning *MotherShip, then when they each attack you physically twice,
goad them a bit by doing a couple (like 3) of weak attacks, then defending. The only ShadowCats that will use the Summon are the ones in the area where
the Big Egg was before.
  |
|
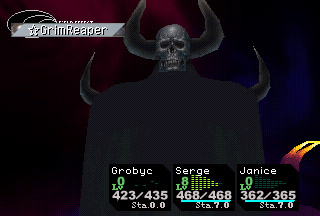
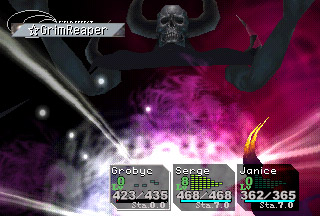
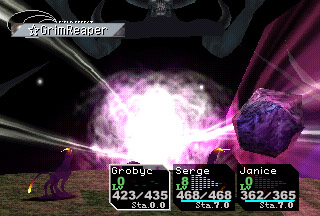
| *GrimReaper |
Received from: Black Dragon (must have done the Marbule possessed
sidequest)
Location: Marbule (Another World)
Description: Summons Death to wreak doom and destruction
  |
|
|
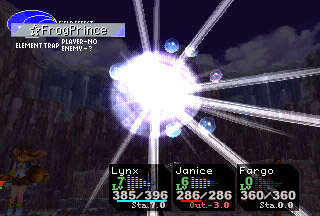
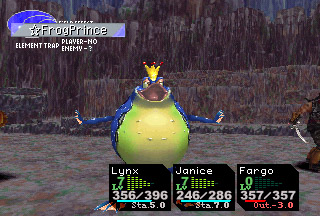
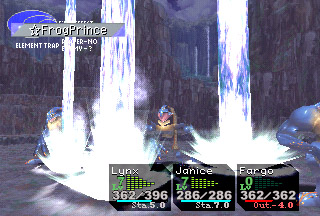
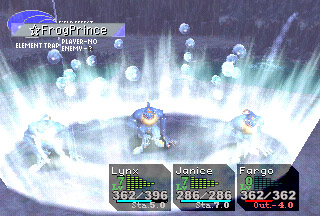
*FrogPrince |
Received from: Water Dragon (for defeating all of the Dwarves)
Location: Water Dragon Isle (Home World)
Description: Summons Frog Prince to perform a water attack
  |
|
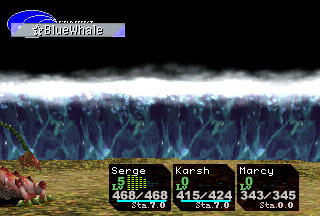
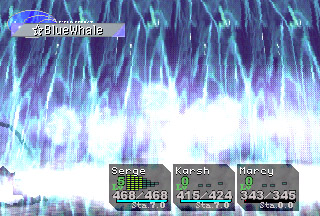
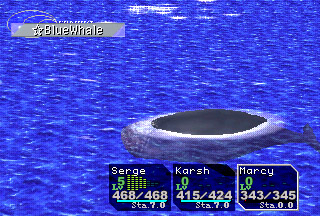
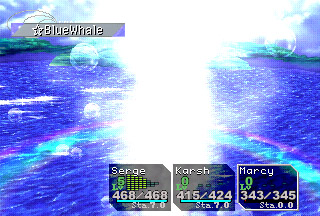
| *BlueWhale |
Received from: Water Dragon (after defeating her)
Location: Water Dragon Isle (Home World)
Description: Calls on Neptune's anger to create a tsunami
  |
|
|
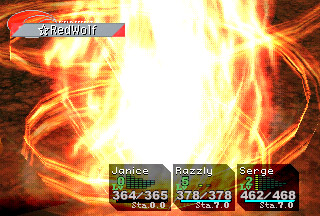
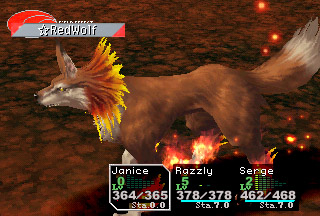
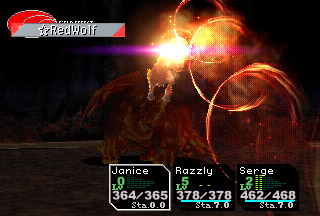
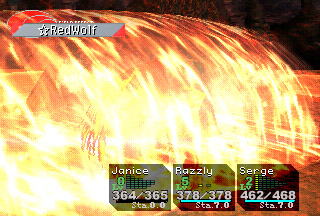
*RedWolf |
Trapped from: HotDoggity
Location: Mount Pyre (Home World), Mount Pyre (Another World)
Description: Summons a fire wolf to create a sea of flames
Special notes: If you're doing this in Home World, there must be only ONE HotDoggity in enemy party and nothing else (i.e., no other HotDoggities or CatBurgulars or anything,
and killing off foes til there is only one left does not count). If there isn't only one, run away and retry until there is only one. Let HotDoggity turn
the field effect all red, then cast the trap. Defend until HotDoggity summons RedWolf.
In Another World it's a heck of a lot easier. Just attack as normal, use red attack elements to speed things up a bit, and they'll generally summon *RedWolf as soon as the field effect turns
all red (so make sure pretty much the first thing you do is drop the trap).
  |
|
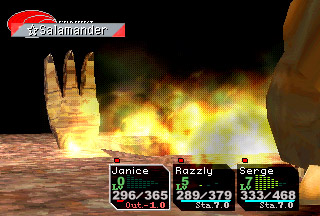
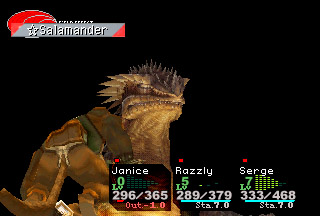
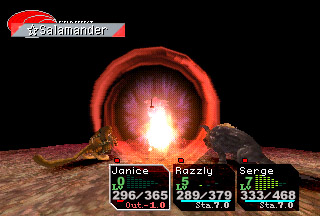
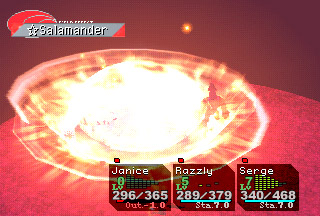
| *Salamander |
Received from: Fire Dragon (after defeating him)
Location: Mount Pyre (Another World)
Description: Use salamander's breathe to incinerate foes
  |
|
|
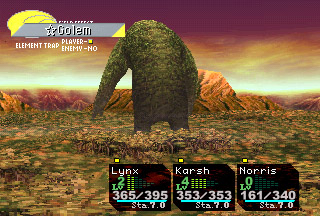
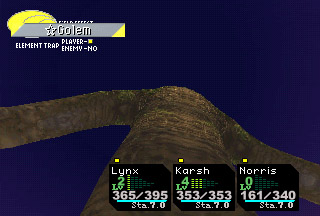
*Golem |
Trapped from: Centaurpede; Solt
Location: Hydra Marshes (Another World); Isle of the Damned (Another World)
Description: Summons an earth giant to stomp on your foes
Special notes: Centaupedes can and have been known to cast Earthquake when the field effect is all yellow, so be careful and carry a bunch of
Capsules to cure yourself with.
  |
|
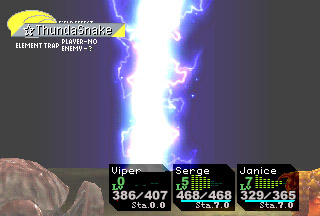
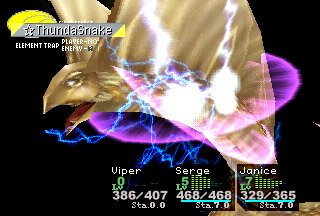
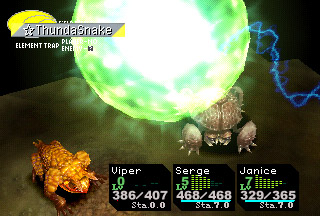
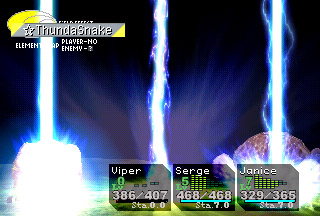
| *ThundaSnake |
Received from: Earth Dragon (after defeating her)
Location: Earth Dragon Isle (Home World)
Description: An electric serpent zaps anything in its path
  |
|
|
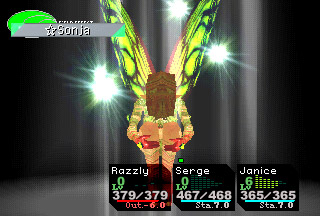
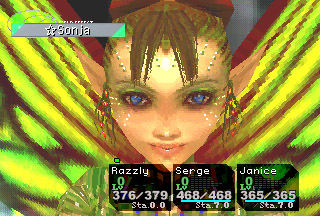
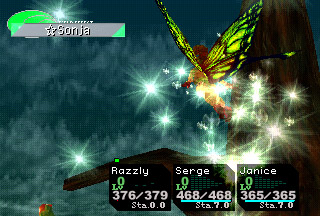
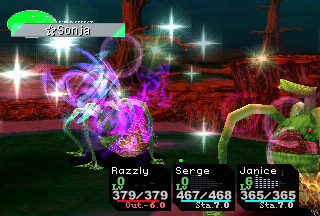
*Sonja |
Trapped from: PreyMantis
Location: Gaea's Navel (Home World)
Description: Summons a forest dryad to sprinkle poison dust (also does damage)
  |
|
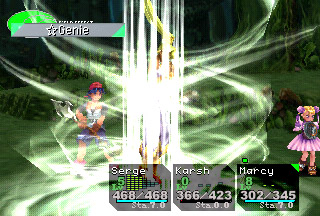
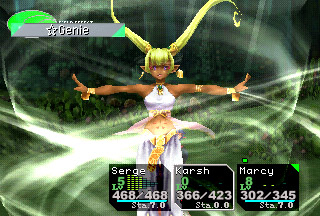
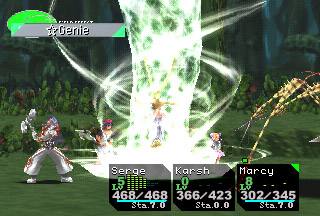
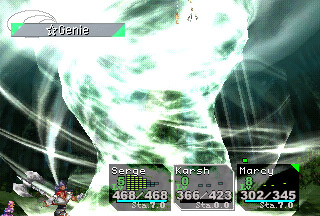
| *Genie |
Received from: Green Dragon (after defeating him)
Location: Gaea's Navel (Home World)
Description: A wind djinn blows your foes away with a twister
  |
|